
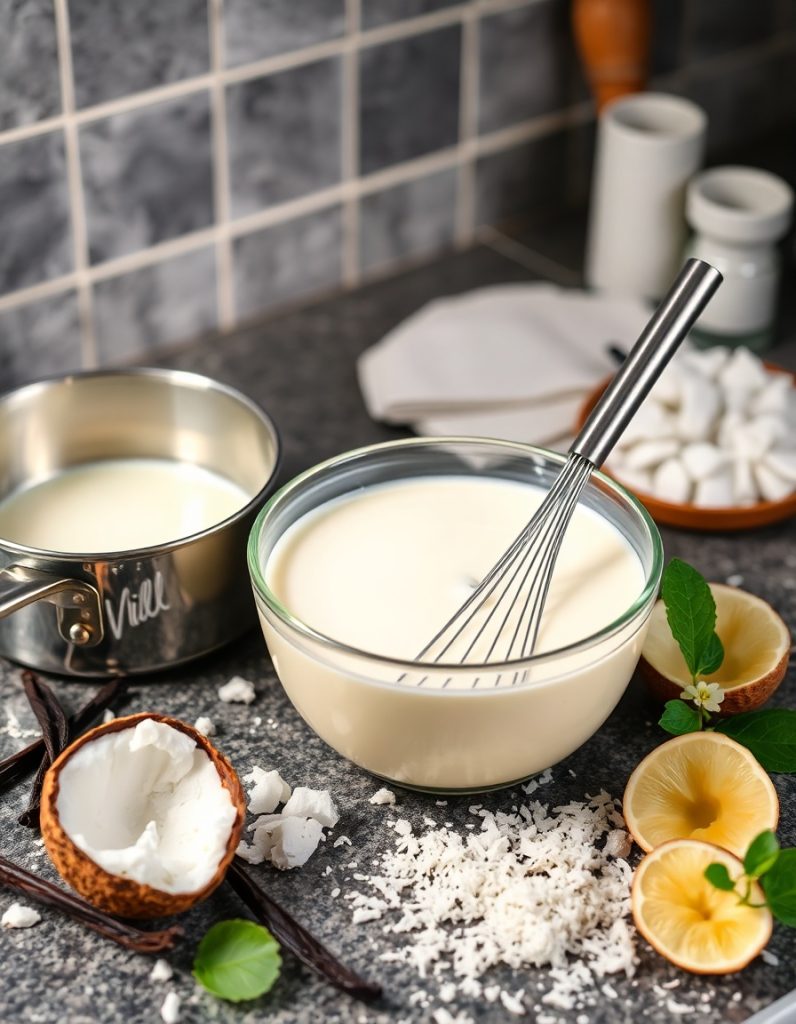
Condensed milk is a sweet, thick dairy product often used in desserts and baked goods. Traditional recipes call for a generous amount of sugar, which can be a concern if you’re watching your sugar intake or following a low-carb lifestyle. Luckily, you can still enjoy all the creaminess and richness with a homemade sugar-free version. Understanding how to make sugar free condensed milk opens the door to healthier dessert options without compromising on taste.
What Makes Condensed Milk So Special?
Condensed milk has a unique texture—it’s creamy, sticky, and sweet. It’s made by removing most of the water content from milk and adding sugar to preserve it. This process creates a product that’s thick enough to drizzle, spoon, or bake with, adding moisture and sweetness to recipes. Sugar-free condensed milk uses alternatives to sugar but maintains all this goodness, so you get the perfect dessert base minus the sugar crash.
Ingredients You’ll Need
To create sugar-free condensed milk, the ingredients list is simple but important. You’ll want to choose each ingredient carefully to ensure the best flavor and texture.
| Ingredient | Purpose | Notes |
|---|---|---|
| Whole Milk | Base liquid providing creaminess | Full-fat gives richer taste |
| Heavy Cream | Adds thickness and luxury | Optional but recommended |
| Erythritol or Monk Fruit Sweetener | Sweetener without sugar | Granulated or powdered works best |
| Butter | Enhances creaminess | Add just a small amount |
| Vanilla Extract | For flavor depth | Pure extract preferred |
How to Make Sugar Free Condensed Milk: Step-by-Step
Making sugar-free condensed milk at home is surprisingly easy. Here’s a straightforward method that anyone can follow:
Step 1: Combine Milk and Sweetener
Start by pouring 2 cups of whole milk into a medium saucepan. Add 1 cup of granulated erythritol (or your preferred sugar substitute). Stir the mixture gently over medium heat until the sweetener fully dissolves. This prevents any grainy texture in the final product.
Step 2: Add Cream and Butter
Next, pour in 1/2 cup of heavy cream to enhance the thickness. Add 2 tablespoons of unsalted butter to give it that extra creamy richness. Stir continuously to combine all ingredients.
Step 3: Simmer Slowly
Lower the heat and let the mixture simmer gently. Keep it at a low temperature because boiling can cause the milk to scorch or separate. Stir frequently, especially around the edges, to prevent sticking. This simmering process should last about 30-40 minutes, during which the milk reduces and thickens.
Step 4: Check for Thickness
You’ll know the condensed milk is ready when it coats the back of a spoon and has a syrupy consistency. Remember, it will thicken a little more as it cools, so avoid overcooking. Once thickened, remove the pan from heat.
Step 5: Add Vanilla and Cool
Stir in 1 teaspoon of pure vanilla extract to round out the flavor. Allow the mixture to cool completely at room temperature before transferring it into a sealed container. Refrigerate for up to two weeks.
Tips to Ensure Perfect Results
- Use fresh, full-fat dairy: It contributes to creamier texture and better flavor.
- Don’t rush the simmering: Slow heating helps reduce the milk without curdling.
- Choose your sweetener wisely: Granulated erythritol or monk fruit blends work well and won’t alter taste too much.
- Stir often: Prevents burning and uneven thickening.
Why Make Your Own Sugar Free Condensed Milk?
Buying sugar-free condensed milk can be tricky; store-bought versions often contain fillers, preservatives, or artificial ingredients. Making your own means complete control over what goes in. It’s perfect for those who want to cut down on sugar but don’t want to sacrifice flavor or texture in their desserts.
Plus, knowing how to make sugar free condensed milk is a handy trick that can impress friends and family at gatherings. Imagine whipping up a sugar-free key lime pie or a creamy no-sugar tres leches cake that tastes just as indulgent as the original.
For those who love experimenting, pairing your sugar-free condensed milk with a splash of starbucks sugar free vanilla syrup can add a unique twist to coffee-flavored desserts or drinks. It’s a fun way to customize sweetness and flavor without adding sugar calories.
How to Use Sugar Free Condensed Milk in Baking and Desserts
This sweet milk substitute is incredibly versatile. Here are some ways you can introduce it into your kitchen creations:
- Creamy frostings: Add it to buttercream for smooth texture and less sugar.
- Ice creams: Perfect for homemade sugar-free ice cream bases, giving creaminess and sweetness.
- Drizzles and sauces: Warm it slightly and pour over fresh fruit or sugar-free desserts.
- Moist cakes: Replace sweetened condensed milk in cake recipes to reduce sugar load.
- Sweet coffee or tea additions: Use instead of sugary creamers for a smooth taste.
Common Questions About Sugar Free Condensed Milk
Can I use plant-based milk instead of dairy?
Yes, though results vary. Coconut milk can work well due to its natural creaminess, but almond or soy milk might produce a thinner consistency. You might need to adjust cooking time or add a thickener like xanthan gum.
How long does homemade sugar-free condensed milk last?
Stored in an airtight container in the fridge, it generally stays fresh for up to two weeks. Always give it a sniff before using to ensure it hasn’t spoiled.
Is sugar-free condensed milk safe for baking?
Absolutely! It behaves similarly to traditional condensed milk and can be used in most recipes calling for the sweetened version.
Can I freeze sugar-free condensed milk?
Technically yes, but freezing can affect texture, causing separation once thawed. It’s better to keep it refrigerated and consume within two weeks.
Conclusion
Knowing how to make sugar free condensed milk gives you a powerful ingredient to keep your desserts both delicious and healthier. This homemade version is creamy, smooth, and suitably sweet without the sugar spike. Whether you’re reducing sugar intake or just love experimenting in the kitchen, this recipe is a fantastic addition to your cooking toolkit. So next time you crave a luscious pie, fudge, or a coffee treat, you’ll have a sugar-free option at the ready. Give it a try and watch your desserts delight everyone at the table—without unnecessary sugar!

Allen is the founder of nosugarways.com, sharing simple tips and recipes to help you cut sugar and live healthier.

